
Authorized tab
Overview
The authorized tab represents the pre-authorized transactions waiting to be finalized. You can interact with them via the Authorized table (shown below).
This tab allows you to capture a pre-authorized payment, edit it, or delete it.
To learn more about payment status, please view the article on Payment Status.
Viewing pre-authorized transactions
All your pre-authorized transactions will appear in the table, with the latest ones at the top. There is pagination at the bottom right (< 1 >) if there are too many pre-authorized transactions to show on one page.
Note: to ensure you're viewing the most recent pre-authorized transaction data, click the refresh button, which resets all filters and updates the table.

Here's what each column in the transaction table represents:
Date → the date and time the pre-authorization was initiated
Auth ID → the unique identifier assigned to the authorization request
Name → the name of the customer tied to the pre-authorized transaction
Charge Amount → the total dollar amount authorized (excluding tip)
Tip → the tip added by the customer during the pre-authorization
Merchant ID → the unique identifier of the merchant account
User ID → the ID of the customer who initiated the authorization
Location ID → the internal ID of the store or location where the authorization was processed
Additionally, you can use the calendar button to alter the time window in which you prefer to view the pre-authorized transactions. Selecting a time will automatically refresh the table to reflect your time window.

The options here are:
Anytime
Past 24 hours
Past week
Past month
Past year
Custom Range
Searching for pre-authorized transactions
You can use the search bar to view the pre-authorized transactions specific to the drop-down filter to the left. You can tailor your search to the options below by opening the drop-down filter.
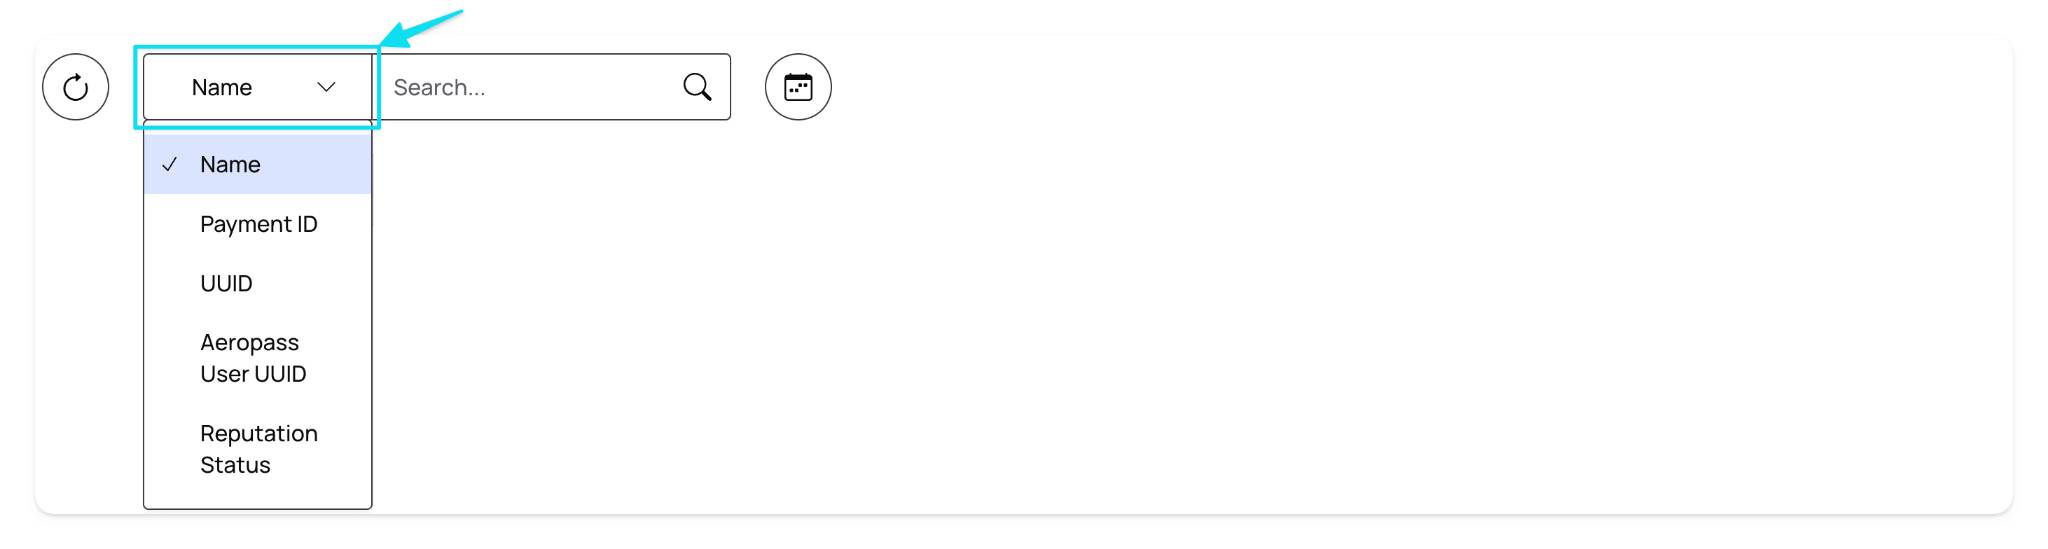
The options here are:
Name → the customer's full name associated with the transaction
Payment ID → the unique identifier assigned to a specific payment
UUID → a unique identifier used to track the transaction across services
Aeropass UUID → a unique identifier tied to the customer's Aeropay account
Reputation Status → the trust level of the customer based on your business's criteria
Capturing & Editing a pre-authorized transaction
To capture a pre-authorized payment at the time of payment or transaction completion, click the “Capture” button at the beginning of the pre-authorized transaction

Capturing a pre-authorized payment will move the transaction to the “Payments Tab” as it is now a pending transaction.
To further manage the transaction, such as performing a full or partial refund, please reference this article.
To edit a pre-authorized transaction to change the total amount, click the “Edit (pen)” button next to the “Capture” button. Doing so will pop up a window to edit the total amount of the transaction. Click “Save” to update the pre-authorized amount.
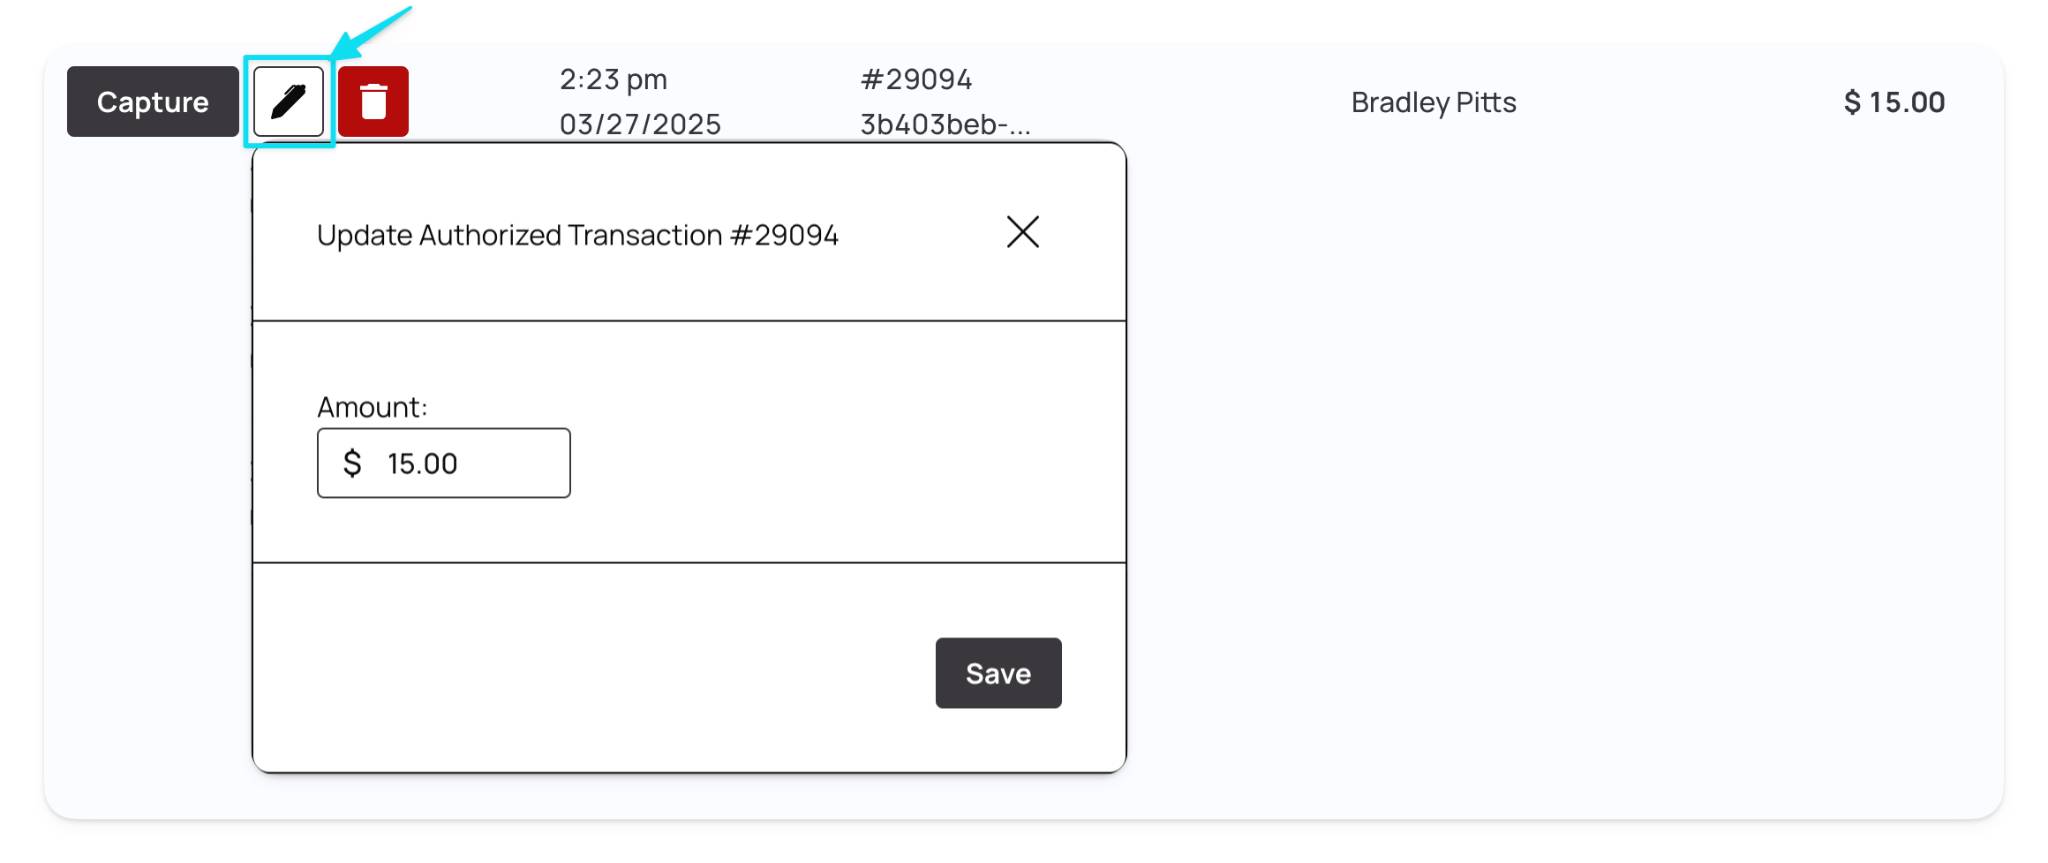
Once the pre-authorized total amount has been updated, capture the payment using the steps outlined above.
Click the red “Trash Can” button to delete a pre-authorized transaction.

Deleting the pre-authorized transaction will remove it completely from the authorized tab and will not be able to be recovered. The customer will have to complete a new pre-authorized transaction.
Pre-authorized transactions will automatically be canceled after 72 hours of inactivity.